How to Get a Better Loaf From a Bread Machine
The machine is rarely the variable. Flour, yeast, water and the order you add them decide almost everything about the loaf that comes out three hours later.
- Flour is the first decision, and protein is the number that matters
- Yeast: the ingredient most likely to be the actual problem
- Water temperature, and why the machine cares more than you do
- Salt is a control, not a seasoning
- The order of ingredients, and why manuals are stubborn about it
- Crust colour, two heating elements, and the pale top problem
- Reading a failed loaf
- The gluten free programme is a different machine
- The one safety rule that has nothing to do with the machine
- Keeping a machine worth using
A bread machine does three jobs in sequence: it kneads, it holds a warm place for the dough to rise, and it bakes. None of those are difficult jobs. What makes them worth automating is that they have to happen at the right times, for the right durations, at the right temperatures, and a person who is working or asleep cannot supervise all three. That is the whole promise, and every Neretva bread machine keeps it the same way.
Which is why, when a loaf comes out dense, pale, sunken or tacky, the machine is almost never the thing that went wrong. The variables that decide a loaf all sit upstream of the start button: what flour went in, whether the yeast was still alive, how much water it met, how much salt was in contact with it, and in what order the whole lot was tipped into the pan. This guide is about those variables, in roughly the order they matter.
Flour is the first decision, and protein is the number that matters
Wheat flour is sorted by protein content, and protein is what becomes gluten when it meets water and gets worked. Bread flour typically runs around 12 to 14 percent protein; all purpose sits nearer 10 to 12; cake and pastry flours go lower still. More protein means a stronger gluten network, which means the dough can trap more of the carbon dioxide the yeast produces, which means a taller loaf with an open crumb rather than a squat one.
In a hand kneaded loaf you can compensate for weaker flour with time and technique. In a machine you cannot, because the knead is a fixed duration on a fixed programme. So the single easiest upgrade to a machine loaf is to use bread flour where the recipe allows it, and to treat all purpose flour as the compromise it is rather than the default.
The second flour habit worth building is weighing rather than scooping. A cup of flour can weigh anywhere from about 120 to 150 grams depending on whether it was spooned in or packed, and that spread is roughly a fifth of the flour in a small loaf. Hydration is a ratio, and a ratio you cannot measure is a ratio you cannot repeat. A cheap kitchen scale removes more variance from machine baking than any other single purchase.
| Flour | Protein, typical | What it gives in a machine |
|---|---|---|
| Bread flour | 12 to 14% | Tallest rise, chewy open crumb, most tolerant of a long programme |
| All purpose | 10 to 12% | Softer, slightly denser loaf; fine for quick and sweet cycles |
| Whole wheat | 13 to 14%, with bran | Bran cuts the gluten network, so expect a shorter, denser loaf; use the whole wheat programme |
| Rye | Low gluten forming | Needs blending with bread flour; alone it will not hold a machine rise |
| Gluten free blends | No gluten | Behaves like batter, not dough; only use the gluten free programme |
Yeast: the ingredient most likely to be the actual problem
When a loaf refuses to rise, yeast is the first suspect, and usually the right one. Yeast is alive, it has a shelf life, and it is killed by heat and slowed sharply by cold and by direct contact with salt. A jar that has been open in a warm cupboard for eight months will still smell like yeast and still do almost nothing.
Machine recipes are written for instant yeast, sometimes labelled bread machine yeast or rapid rise. Instant yeast has finer granules and can go in dry, straight into the flour. Active dry yeast has larger granules and traditionally wants proofing in warm liquid first. You can substitute one for the other, but not one for one and not without thinking: active dry generally needs about a quarter more by volume, and it prefers to meet liquid before it meets a fixed programme timer.
If you suspect a jar, test it before you commit a loaf to it. Stir a teaspoon of yeast and a teaspoon of sugar into about half a cup of water at roughly 105 to 110 F, and give it ten minutes. Live yeast foams up into a visible head. Dead yeast sits there. Ten minutes and a spoonful of yeast is a cheaper test than three hours and a pound of flour.
Water temperature, and why the machine cares more than you do
Yeast works fastest somewhere around 80 to 90 F and starts dying above roughly 130 F. A machine programme allocates a fixed number of minutes to the rise, so the temperature of the dough at the start decides how far the rise gets before the bake begins. Water straight from a cold tap in January can leave a loaf half proved when the heating elements come on.
The usual advice is lukewarm water, which is unhelpfully vague. Aim for about 80 F in a warm kitchen and about 90 F in a cold one, and use the back of your wrist the way you would for a baby bottle: it should feel neither warm nor cool. If you are using the delay timer, ignore all of this and use room temperature water, because the dough will be sitting for hours before anything begins.
Hard water is worth a thought too. Very hard water tightens gluten and slows yeast slightly; very soft water gives slack, sticky dough. Neither is a problem you need to solve, but if your loaves behave differently at a holiday house than at home, the water is a likely reason.
Salt is a control, not a seasoning
Salt in bread does three things at once. It seasons, obviously. It strengthens the gluten network, which is why a saltless loaf feels slack and tears. And it slows the yeast down, which sounds like a disadvantage until you taste a loaf made without it: fast fermentation produces a bland, boozy, coarse crumb, because flavour needs time that the yeast did not take.
That last function is why every machine manual tells you to keep salt and yeast apart in the pan until the knead begins. Direct prolonged contact with salt draws water out of yeast cells and kills a proportion of them. In practice this means putting the salt in one corner of the flour and the yeast in a small well in the centre, and not stirring them together while you find the lid.
It is also where home baking quietly wins on nutrition. In a machine loaf you set the salt, and you can walk it down over a few bakes until you find the floor your household actually notices. A gram at a time is invisible; a gram at a time over six loaves is not.
The order of ingredients, and why manuals are stubborn about it
Almost every bread machine manual specifies liquids first, then dry ingredients, then yeast last in a small well at the top. This is not tradition. It is a consequence of the delay timer and of how the knead starts.
With liquids at the bottom, the paddle begins in the wet and pulls the dry down into it, which is the mixing pattern the programme is timed for. With yeast on top and dry, it stays inert until the paddle brings it into the water, which is what lets you load a pan at eleven at night and set the machine to finish at seven. Reverse the order and, on a delay bake, the yeast wakes up hours early, exhausts its sugar, and the loaf is flat before the machine has done anything at all.
- Liquids: water or milk, then any oil or melted butter.
- Sugar and any liquid sweetener, into the liquid.
- Flour, covering the liquid completely.
- Salt in one corner of the flour, away from the centre.
- A shallow well in the middle of the flour, and the yeast in it, dry and undisturbed.
Crust colour, two heating elements, and the pale top problem
The most common complaint about bread machines in general is that the top of the loaf comes out pale while the bottom and sides are properly coloured. It is a design problem rather than a user error: a machine with a single heating element under the pan browns from the bottom, and the top of the loaf only ever gets the ambient heat of the chamber.
Every machine in our range uses two elements instead, one below the pan and one above it, and shifts between them through the bake. That is the mechanism behind the crust setting: light, medium and dark are not just timer differences, they change how much work the upper element does at the end of the cycle. If your loaf still finishes paler on top than you want, move up one crust shade before you change anything about the recipe.
The other half of crust colour is sugar. Browning is a sugar and protein reaction, so a lean dough with almost no sugar in it will always colour less than an enriched one, at any setting. A teaspoon of honey in a plain white loaf changes the colour more than a crust setting does.
Reading a failed loaf
A loaf that goes wrong usually tells you exactly what went wrong, if you know what shape corresponds to what cause. This table covers the failures we are asked about most.
| What the loaf did | Most likely cause | What to change |
|---|---|---|
| Barely rose, dense throughout | Dead or slowed yeast, or salt in contact with it | Test the yeast; keep salt in a corner, yeast in a central well |
| Rose then collapsed in the middle | Too much liquid, or too much yeast | Cut water by 1 to 2 tablespoons; measure yeast level, not heaped |
| Mushroomed over the pan edge | Too much yeast or sugar for the loaf size | Drop to the next loaf size down, or reduce yeast by a quarter teaspoon |
| Top pale, sides and base fine | Lean dough and a light crust setting | Move up one crust shade; add a teaspoon of sugar or honey |
| Dough split into two lumps while kneading | Dough too dry for the flour used | Add water a tablespoon at a time during the first knead until it forms one ball |
| Gummy or tacky crumb when sliced | Sliced while still warm, or underbaked | Cool on a rack for at least an hour before slicing; try one crust shade darker |
| Big holes near the top | Over proved, often a warm kitchen plus a long programme | Use cooler water; move to the quick or basic programme |
| Paddle baked into the base of the loaf | Normal, not a fault | Use the removal hook once the loaf is out and cool enough to handle |
The gluten free programme is a different machine
Gluten free bread is not bread dough with the wheat swapped out. Without gluten there is no elastic network to trap gas, so the mix behaves like a thick batter and relies on starches, gums and eggs to hold structure. It does not want a long knead, and it definitely does not want the punch down and second rise that a wheat programme performs, because knocking the air out of a gluten free batter is a one way operation.
That is what the dedicated gluten free programme changes: a shorter, gentler mix and a single rise. Running a gluten free mix on the basic cycle is the most common reason a first attempt comes out as a dense damp brick. Use the right programme, expect a wetter mix than you think is right, and level the top with a wet spatula before the bake, because the batter will not settle by itself.
The one safety rule that has nothing to do with the machine
Keeping a machine worth using
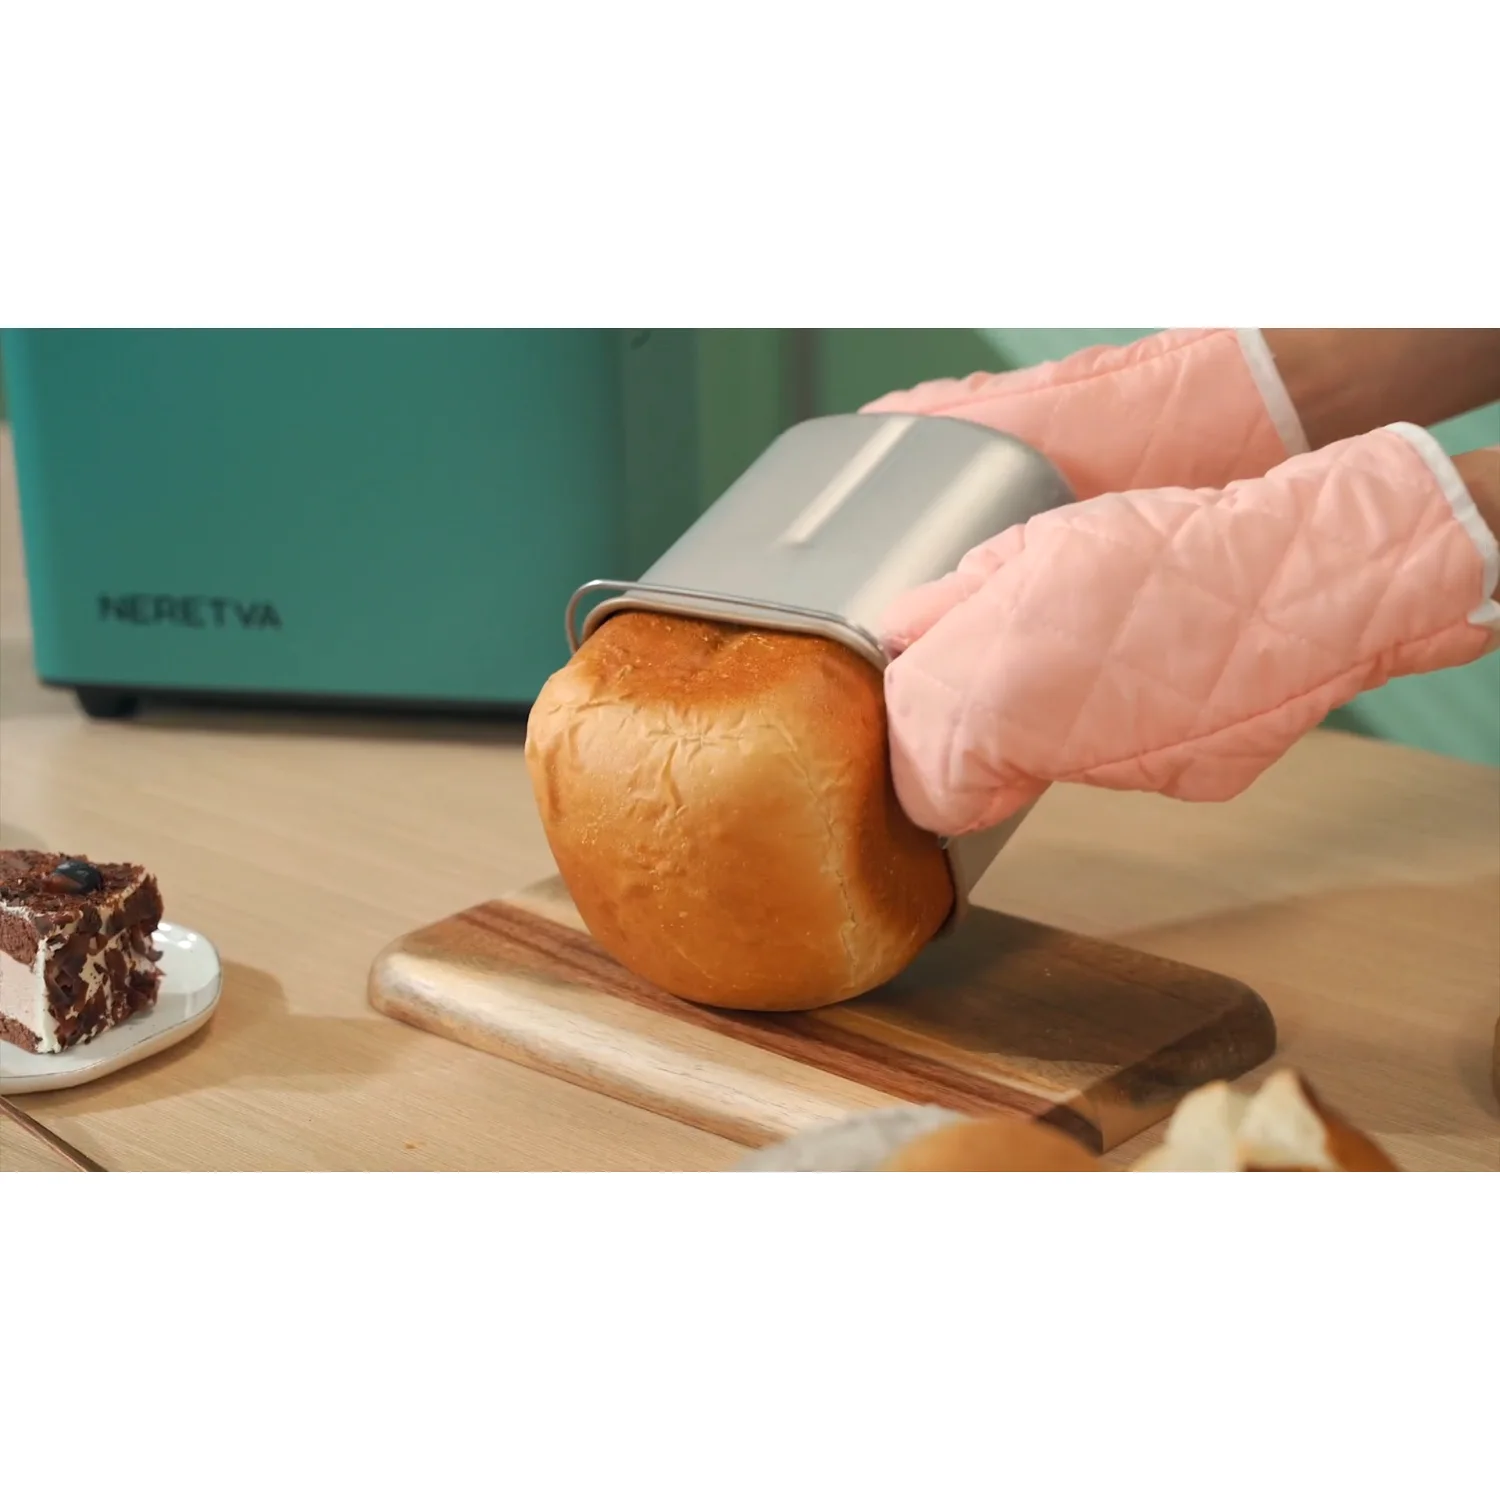
A bread machine is a simple appliance and the motor usually outlives everything around it. What wears is the pan coating and the paddle, both of which are consumables in the same way a frying pan is. Three habits extend both: do not put the pan in a dishwasher regardless of what it survives, do not cut bread inside the pan, and soak rather than scrub when dough has dried on.
Paddles wear at the shaft where they turn, and a paddle that has gone loose stops kneading properly long before it stops turning. If your loaves have begun dividing into two lumps or finishing dense at one end and you have ruled out hydration, look at the paddle before you blame the recipe. Pans and paddles are model specific, so match the part to the machine body rather than to the loaf size.
For the full range of pans, paddles and hooks by model, see our bread machine parts shelf. The other two guides in this series cover the rest of the counter: Espresso at Home: Pressure, Grind and Milk and Bread Machine, Stand Mixer or Countertop Oven?.
And if you are still deciding which machine to start with, the three sizes and what they suit are laid out on the Neretva bread makers shelf: the 2 lb machine for a household of two or three, and the two dispenser models when the loaf has to last the week.